Sunday, February 24, 2013

EYEBROW FIX IN SECONDS

UNKEMPT EYEBROWS--how unattractive!
Through out the day, your eyebrows can shift around and move, and no matter
how well you filled them in or plucked them--they end up horrible! (Especially
if you have full and thick eyebrows!)
 
To ensure you keep each hair in place, there are
many products in the market. The only problem? THEIR PRICES...
Eyebrow gels can range from $20-30 and even $40, depending on where
you purchase it. How much will this remedy cost?
 
A couple dollars, but I'm sure you already have the needed items.. so basically nothing!
 
 You only need two things that you most likely already have:
 
1. Hairspray (What?!)
2. An eyebrow brush/spoolie
(you can get these at makeup-stores for free--they have them on display
for you to test products)
 
LETS BEGIN!
 
1. Take your spoolie comb
2. Spray it with any hairspray you have
3. Brush your brows with the sprayed-on brush! You're done!
 
Not only will this be quick, easy, and cheap, but it actually works!
Most eyebrow gels come off quite glossy and shiny, making your
brows look extremely fake. Hair spray dries matte, as if you don't have
any product on! It also keeps and holds your brows in place
alllllllll day long.
 
GIVE IT A TRY!


Review: Covergirl 3-in-1 Outlast Foundation

 I was browsing videos on YouTube one evening when I stumbled across a 'First Impressions' of this new '3-in-1' foundation by Covergirl. (If you would like to watch this review, here is the link: http://www.youtube.com/watch?v=J1Ocq8bsc0E )
 
The video then led me to a plethora of other reviews of the same product. I knew that I HAD
to try this new product because each video RAVED about the foundation.
 
It claims to:
1. Have the lasting power of a primer
2. Have the blendability of a Foundation
3. And the Coverage of a concealer...
ALL IN ONE!
 
I must warn you, do not purchase this product at CVS... there it's priced at $12.99 while
Target/Wal Mart carries it for around $4.99! Less than half of the price it is sold for at CVS.
 
ANYWAYS, let's get on with it!
 
1. So The first thing I really enjoyed about the product, without even trying it,
is that is has a PUMP! Rarely does a drug-store foundation have
a pump. It offers easier product distribution, and it is also much more clean!
 
IT ALSO HAS A LOCK FOR THE PUMP! WHAT?! INSANE RIGHT!
I think I'm in love.
 
2.When I pumped it out, it was quite thicker than most of my foundations.
 
3. When I applied it, it blended seamlessly onto my skin. It also immediately
covered all my blemishes. The coverage was amazing!
 
4. Once It was blended out, It felt velvetty and matte. There was
NO need for a setting powder.
 
5. One coat offers pretty full coverage, but with two coats your skin will look PHOTOSHOPPED
flawless.
 
6. I wore it to school, and when I came home It was still THERE! I did not notice
significant wearing out or coming off..
 
MY ONLY CRITICISM:
 
 I do not reccomend this for dry skin people. I have some dry skin patches on my chin,
and it did not blend easily there. I had to really work on blending it out.
 
Overall, this product gets a 9/10. That's pretty darn great for
something that costs $4.99.
 
I absolutely love this foundation, give it a try!


HEALTHY FAT FREE ICE CREAM ?!

ICE CREAM... it's packed with fat, carbohydrates, calories, and most of the
time it's highly processed. How do you enjoy an equally delicious treat
minus the guilt?!
 
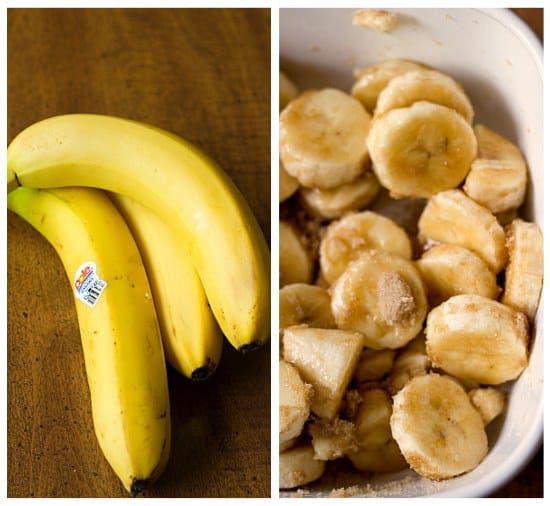
FRONANAS!
(Frozen Bananas)
 
 
Yes, It may sound weird and not at all appetizing... but trust me, it
 
-Tastes JUST like Ice cream
-Its guilt-free
-it's FAT FREE and LOW on calories
-It's composed of only three main ingredients
 
LETS START!
1. Take some bananas, slice them, and freeze! (Do this in advance so you'll
have some at hand whenever you want some ice-cream)
For extra sweetness, take some ripe bananas. If you want to create or add your own flavor,
however, and you don't want the taste of banana present--start with really
fresh and green bananas.
 

2. Next, you're going to want to place them in a blender. Add fat-free milk, and
for extra sweetness (optional), non-calorie sweetner


3. Blend the ingredients together. Besides the three main ingredients, you
can add protein powder and flavoring. I like to add natural peanut butter
to keep it healthy. I HIGHLY SUGGEST THIS COMBINATION!!!


4. Pulse your fronana a little more, and you're finished! You can now enjoy a sweet, cold, and refreshing treat very similar to icecream... but minus the guilt! 


I stumbled across this treat a few years ago, and I have never stopped. Instead of reaching
for full-fat and processed ice cream, I've been scarfing down healthy FRONANA!

I gave my brother some one time and he seriously could not TELL the difference.
He thought he was eatting peanut-butter ice cream... GIVE IT A TRY!


Monday, January 28, 2013

TOOTHPASTE FOR PIMPLES?!

***THIS IS NOT A MEDICALLY PROVEN METHOD TO RELEIVE PIMPLES, IT ONLY SEEMS TO HAVE WORKED WELL TO CLEAR PIMPLES***
 
YOU WAKE UP AND YOU RUN OUT OF ACNE CREAM.. OR YOU'RE OUT IN THE WILDERNESS CAMPING AND YOU SEE THE FIRST SIGNS OF A PIMPLE. WHAT DO YOU DO?!
 
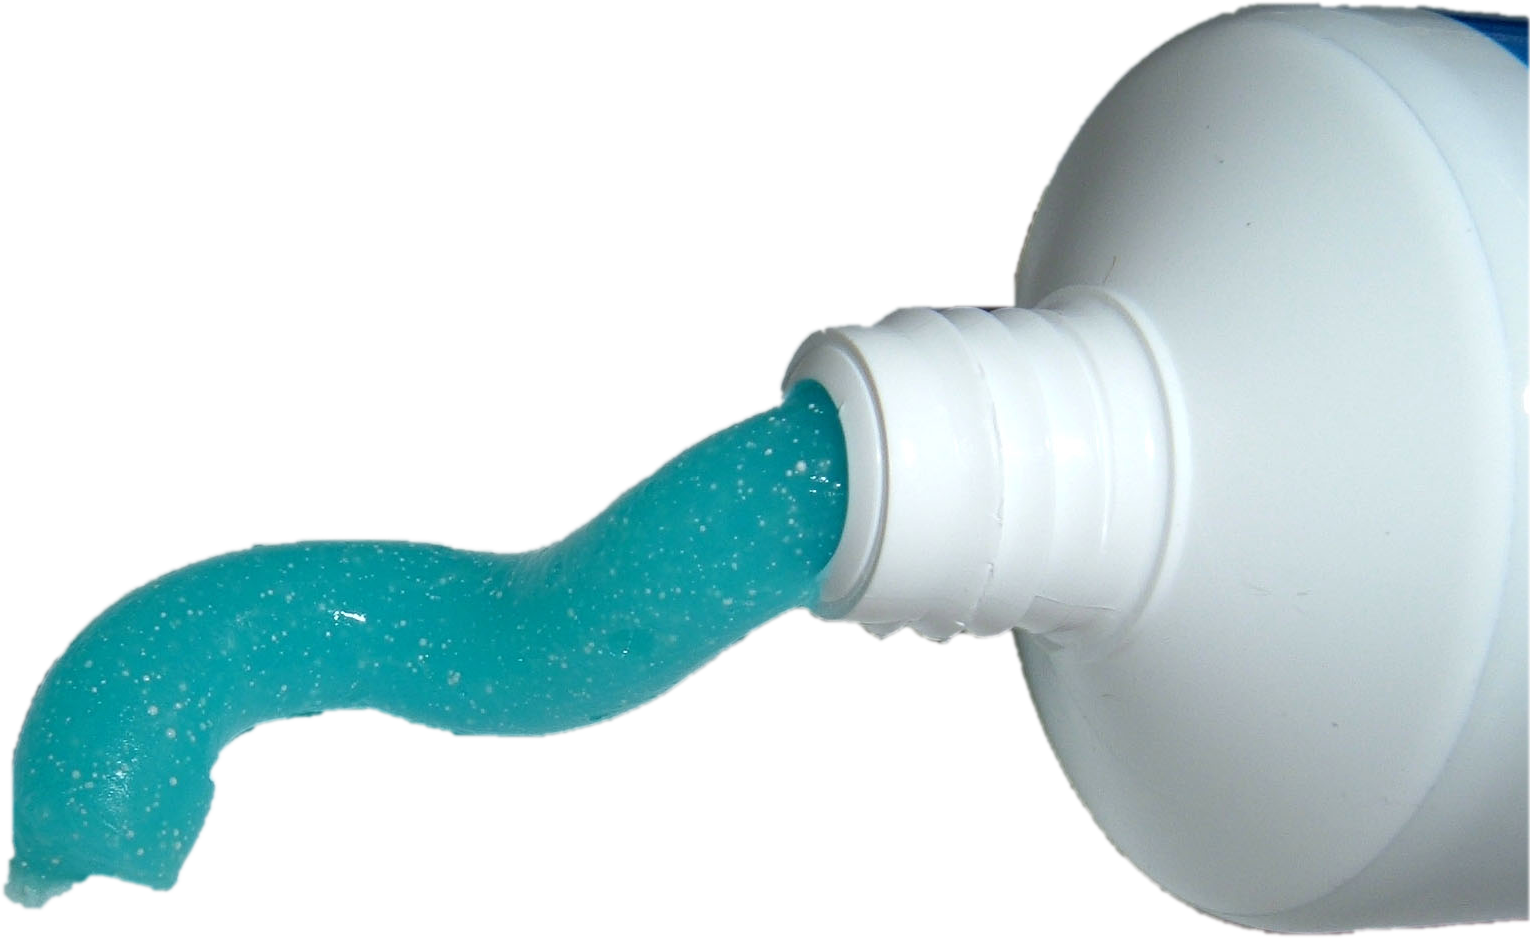
GRAB SOME TOOTHPASTE!
Sounds weird, right? But this quick-emergency-fix may work for you! Give it a try!
Not only is it shown to work, but it's also COST efficient!
 
 
HOW DOES IT WORK?!
Ingredients within toothpaste work to dry out the skin to reduce pimple size, redness, and notability.
 
Since it dries out the skin, you only want to use it as a SPOT treatment. Be
careful with where you place the toothpaste--some ingredients such as menthol (minty flavor) and flouride may irritate your skin if applied in excess.
 
TWO STEPS:
1) Place a small amount of toothpaste on your problem zit
2) Sleep!
 
 
This method is cost efficient, easy, and it requires no trip to your local Target! Grab some toothpaste you have laying around and have instant results! 

PUFFY EYES? TWO- 2 MINUTE FIXES!

EVER WAKE UP IN THE MORNING WITH PUFFY EYES?
If you're anything like me, this happens all the time...
and I usually have only a few minutes to fix it,
or I'll be late for school/ work.


Here are two 2-minute remedies that cost close to nothing,
all you need are spoons and tea-bags!
Chances are, you already have them lying around your kitchen.
Let's get started!
 
REMEDY#1: SPOONS
 
Step 1) Grab two spoons from your drawer
 
Step 2) Place them in your freezer for about a minute
 
Step 3) Remove them from the freezer and place both spoons on your eyelids/undereyes for 30 seconds to a minute
YOU'RE DONE!  
 
REMEDY #2: TEA!
Step 1) Take two tea-bags, and place them in some hot water
 
Step 2) After letting the tea soak in the warm water, you can place them on your eyes for a soothing minute or so
(enjoy some tea while you're at it!)
 
Step 3) If you don't want your tea-bags to be warm, place them in the freezer for a minute and place them on your eyes cold!
 
YOU'RE DONE


Monday, December 31, 2012

Style Your Ombre Creation!

In an earlier post, I taught you how to create your very on studded ombre shirt.
Now that you have it, you may wonder
"Well, how do I style it?!"
 
This kind of top can be dressed up or down, worn casually or fancilly. If that's a word...
 
The trick is what you wear with it! For example, your accessories, your bottoms, your shoes and your bag! By adding and taking away these items, you can change
the look entirely. So really, you're taking one item and creating
many different styles!
 
STYLE #1: CASUAL
For an easy, everyday look, try opting for some comfortable plain shoes. Here, I chose to pair my ombre denim with some casual converse--these shoes are versatile and extremelystyle-able!
 
Grab a pair of dark wash pants. Since our top is already denim, you may not want to wear additional denim jeans! Unless you feel like you can pull it off that is... like Kanye West
 
 
STYLE #2: FANCY CASUAL
So you want to dress up your denim a bit?
This can be easily done! Just add some jewelry and a skirt, a cute bag and some dressy shoes!
 
As you can see here, the ombre denim top was tucked into a plaid skirt. This instantly adds some glam to the outfit, without dressing it up too much.
 
Opting for a cute pair of wedges instead of heels, the outfit does not look too dressy.
 
With a cute straw bag and some bangles, the outfit was finished off with some class!  
 
This look is dressy yet simple and casual--perfect for a small outting with friends.
 
STYLE #3: CUTE CASUAL
Ombre Denim
Add some ankle booties for a casual and relaxed look.
 
Opt for a cute floral dress or skirt for a cute feminine touch! This adds some softness to your look.
 
Tie up your hair in a cute and casual top knot bun. This not only keeps your hair in place through out the day, but it adds a semi-sophisticated factor to your outfit.
 
Finish off with your denim-ombre button up, worn as a cardigan instead of a shirt.
 
These are just suggestions and ideas. At the end of the day, you can style your top however you like!


ANGELINA JOLIE LIPS WITH HOUSEHOLD PRODUCTS!


Angelina Jolie... known for many things, one of those things being her LIPS!
They keep men staring and women jelaous.
What if I told you that you could acquire them, too?
Without the surgery that is...
 
There are many easy and cheap methods to getting lips like Angelina's,
each being fast and highly convenient. You most likely already have each and
every item needed to obtain lips like Angelina's, so let's get started
 
METHOD #1: toothbrush
As the name suggests, you only need a toothbrush for this method
It could be a new one, or you can use the tooth brush that you already have at hand... it does not make a difference.
 
Step 1 of 1:After brushing your teeth in the morning, quickly take
your toothbrush and scrub your lips in a gentle circular motion.
 
 
This will exfoliate your lips and help give them a boost--the prickly  bristles will gently agitate your lips so that they become more plump
 
This is the quickest, cheapest, and easiest way to enhance your lips.
 
 
METHOD #2: home made lip scrub
Many retailers sell exspensive lip scrubs, but why spend money
when you can make your own with household items?
 
All you need for this method is some sugar (to exfoliate), honey (for smooth lips), olive oil (for moisture) and vaseline (for softness).
 
Step #1) combine the honey, olive oil, vaseline, and sugar for
a cheap and effective lip scrub
 
Step #2) Apply to and use your fingers to gently scrub your lips with the home made mixture
 
Step #3) rinse off the scrub. Your lips should be soft--after this, apply some chapstick to seal in the moisture.
 
The sugar will exfoliate your lips to plump them up and remove dead skin. The honey, olive oil and vaseline will complement eachother to give your lips moisture and softness.
 
 
METHOD #3: Lip Gloss and Liner
When you're short on time, or in need to enhance your lips on the spot, the quickest ways to add some plump to your lips are lipgloss and liner.
 
You'll need to purchase these items, but chances are you already have these items in your makeup collection!
 
STEP #1) Take a natural liner color, and begin to outline your lips. The trick is to line your lips, but slightly go outside of your actual lip. This will make your lips seem larger.
 
Make sure you fill in your lips with this color, or else your lips will look odd.
correct
incorrect (she forgot to fill in!)
 
STEP #2) Take some lip gloss of your choice, and apply it to your lips. For an exaggerated look, apply it all over your lips. For a more relaxed look, apply it only to the center of your top and bottom lip.
All over
Center

What are you waiting for?! Give these methods a try, and remember, the sexiest curves on your body are your lips... so smile!